|
I freaking love beauty. Not in a vain way, but the beauty industry. The science, technique, and marketing behind the products and services that make us feel our best. I have always loved the beauty industry for as long as I can remember. From watching America’s Next Top Model in high school calculating how many hours I’d have to work at the local pizza place to afford hair extensions, to graduating from hair school, to working in makeup sales for years. I have lived and breathed that space for a long time. Now I consider beauty my hobby. It truly brings me joy to try a new face mask or to let my hairstylist experiment with a new coloring technique on me. I love how the industry fuses together innovation with art. I can nerd out over this for hours.
Anyway, throughout my teenage and adult life, I have spent a LOT of money on beauty products and services. A lot of these expenses are for the pure sake of trying new things and reporting back. Even before I had a blog, I took so much pride in being the person who could recommend the best new foundation or could share details about an upcoming haircare launch. Seriously guys, that stuff gets me so pumped. Some girls collect shoes, I collect beauty knowledge and experience. I will always have my hair colored, my nails done, and an Ulta haul waiting to hit my bank account. Honestly, that’s who I am and I am self aware enough to accept it. But I am also fiscally aware enough to have picked up some tips throughout the years that allow me to indulge in my beauty routines without breaking the bank. Some are product swaps that work wonders and others are service hacks to get the most bang (and longevity) for your buck.
People think I spend a whole lot more on beauty upkeep than I actually do. I am certainly bougie, but I am bougie on a budget. I know when to invest, when to save, and when to modify your routine for budget’s sake. In the coming weeks I will run through everything from hair to nails to skin to lashes, and let you know what is worth the money, what you can save on, and some great budget friendly solutions, I’m starting with hair tips because honestly, these took me a while to figure out and are some of the best cost saving tips I’ve found.
Getting your hair done is EXPENSIVE. And for good reason. It’s complicated. It’s an art. It’s a science. It takes time. And NO you cannot get the same results at home. Especially if you are a blonde. Being blonde is fun, but expensive. Even if you are naturally blonde, achieving that specific tone and depth you want can really add up. I’ll first say here, hair is something I will ALWAYS spend the money on. If you mess if up trying to do it yourself, trust me, it will cost at least double the amount to get back to normal. Color corrections are no joke. Then add in the potential of damage which you can’t just pay someone to fix. To keep your long thick locks you’ll find yourself investing a couple hundo or more in extensions until it grows back. Just honestly not worth it. What is worth it, is letting the professionals work their magic. Luckily my hairstylist, Lauren, is truly amazing and keeps it really honest as far as price and upkeep. That leads me to my first tip.
Ask what the realistic upkeep for your hair color/style looks like. You need to know if you are going to have to be in the salon chair every six weeks like clockwork, or if you can maintain more of a lax schedule. Here is where you really need to be honest with yourself and with your stylist. If you can’t afford to be visiting so often, let your stylist know and they can help you come up with a look that fits your lifestyle, budget, and gets you where you want to be color wise.
The purposeful root being in style really can be a money saver (YAY!) but if you are like me and want to keep your blond as fresh as you possibly can, here is how you do it. Between your “full” salon visits (where you get the whole shebang) you can have a few highlights popped in around your face and along your hairline. This runs a whole lot cheaper than a full highlight and gives you the look of the brightness you want, where it matters most. Another option is to opt for a toner. Especially with blondes, sometimes you just need a little adjustment or brightening. Your colorist can get you back to where you were tone wise, usually pretty easily, in a quick (and less expensive) salon visit.
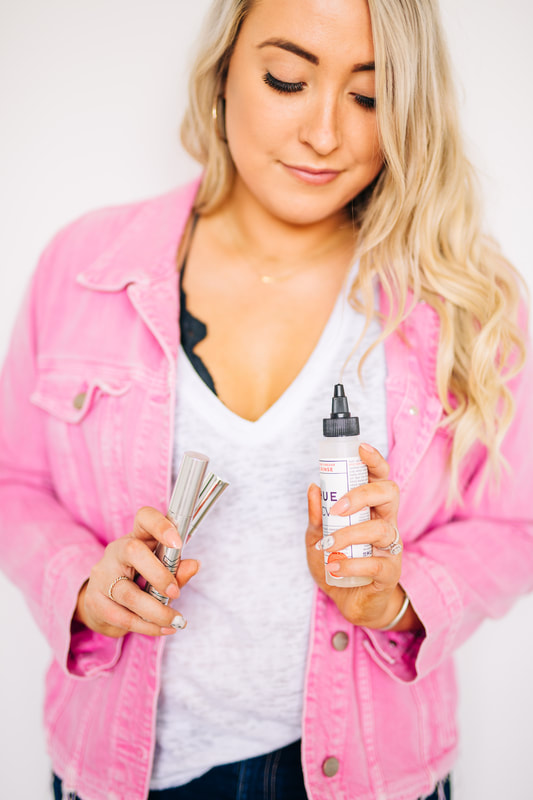
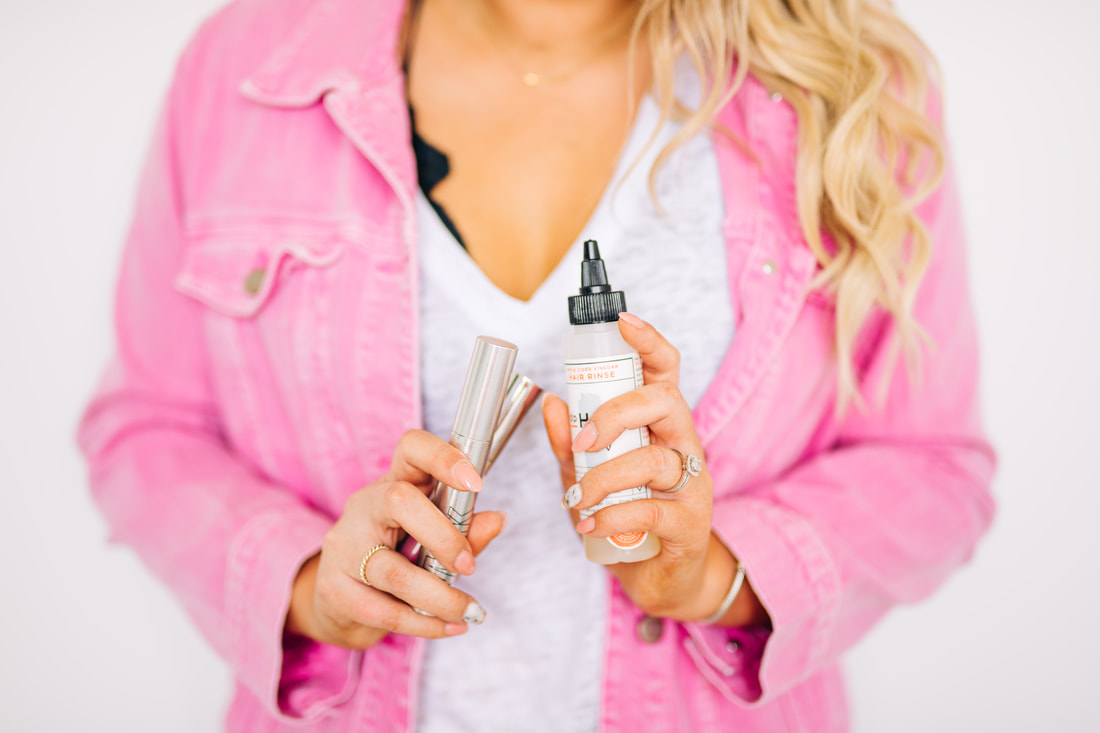
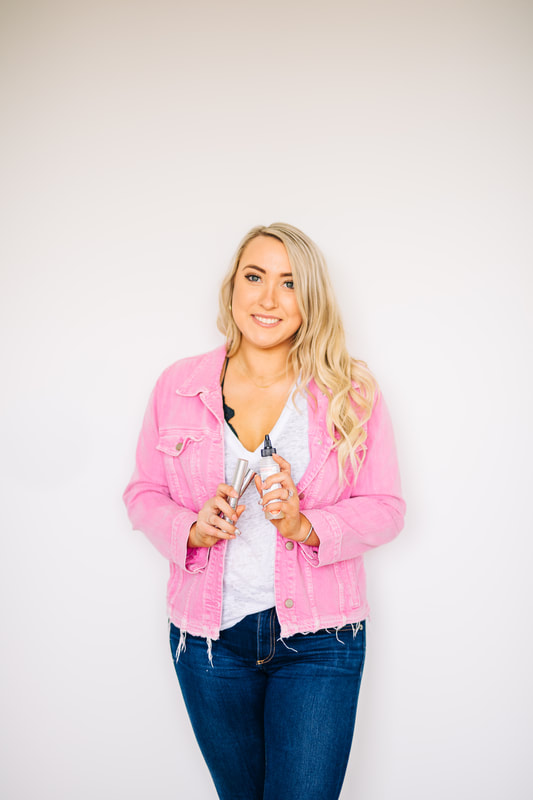
Now you have to continue the hair TLC at home if you want your color to last as long as possible. I personally do this by not washing my hair that much. Dry shampoo is my best friend and so is the Apple Cinder Vinegar Rinse from Dphue. On the days where you probably need to wash your hair but don’t want to give it a full shampoo, this stuff is perfect. You pop it onto your damp roots, massage throughout, let sit, and rinse. It doesn’t have any stripping effects and doesn’t dull your color. It also leaves your hair looking not greasy, but shiny and healthy. This has been a HUGE hack for me that I truly am obsessed with. Think about it. If your toner usually looks amazing for, lets say 10 washes, after you get it done, you can swap the ACV rinse out for at least a third of those and, boom, you’ve prolonged your color by at least a few weeks. To be honest, I was skeptical about if you really could use this to replace a shampoo for a midweek freshen up, but I was so pleasantly surprised. It has gotten me through after workout classes, long weekends, and everything in between.

When you DO have to shampoo at home, you can make sure you are keeping your color vibrant by using a color safe shampoo and conditioner. On top of that, I also like to use a toning shampoo to help keep my blonde the shade I like. Ask your colorist what hue of shampoo they recommend you use to brighten up your specific color. As a blonde, I love purple shampoo and I want it to pack some punch. The Dphue Cool Blonde shampoo and the Amika Bust Your Brass Cool Blonde shampoo are two of my favorites right now. They aren’t super drying like other toning shampoos can be but I still like to use a hair mask on my ends when I am washing. I’ve dropped a few of my favorite hair masks that I use as conditioners below as well.

I’m getting my hair refreshed this weekend so I will have a few quality hours inside the salon. Drop me any questions you have about hair color/care in general, my hair upkeep, or product recommendations and I’ll gladly answer.
What budget friendly beauty breakdown do you want to see next? Nails? Makeup? Lashes? Skincare? xx
0 Comments
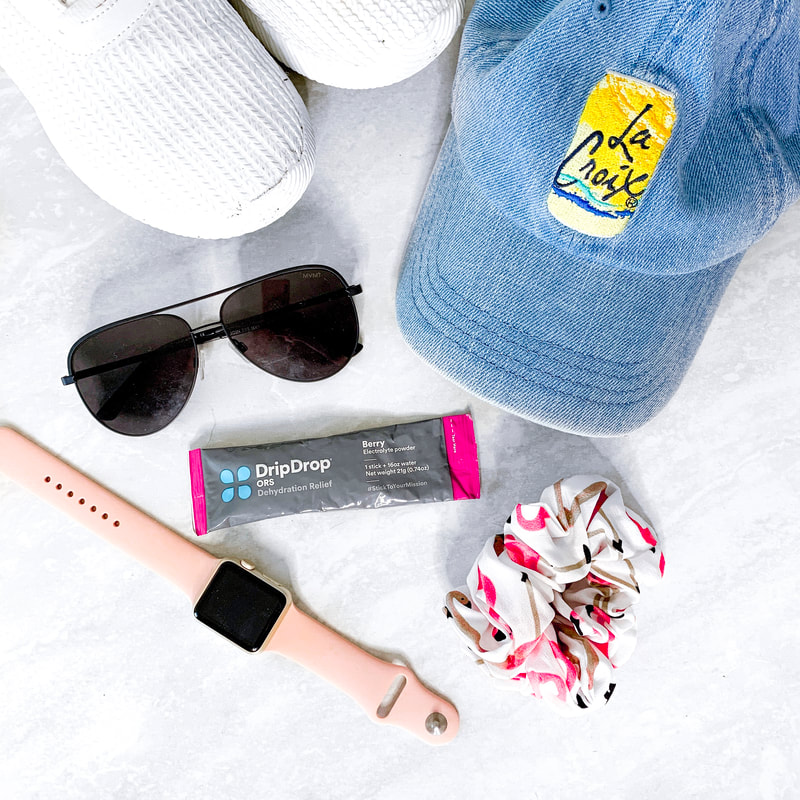
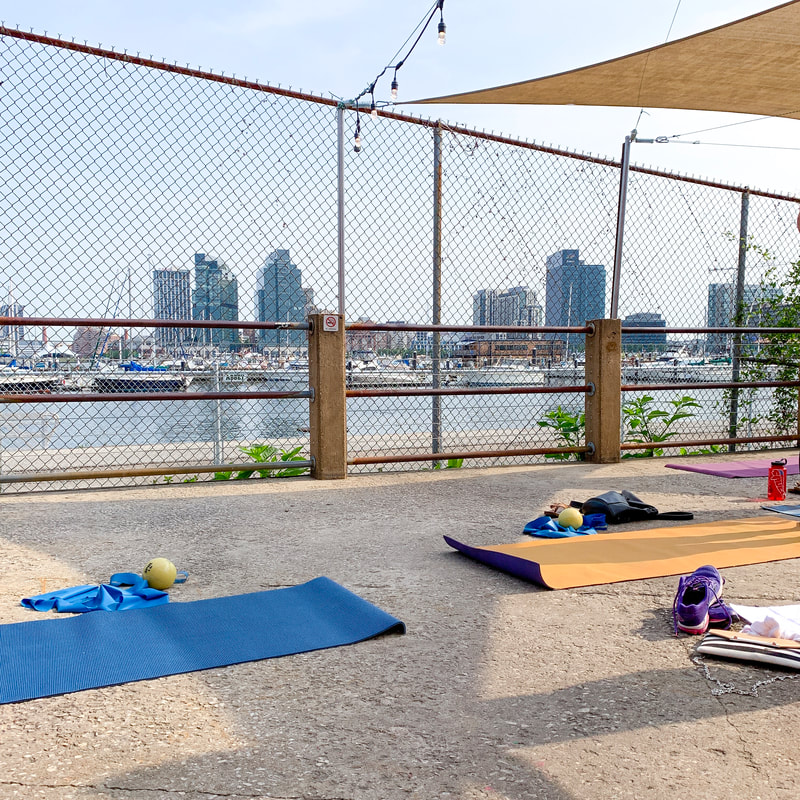
With nice weather (finally) upon us, I have been jumping at any chance to get outside more. Whether its taking the dogs for an extra walk, parking farther back in the parking lot for a few extra seconds outside, or when I’m able to work remote, doing it from my backyard, I have been taking every opportunity I can get. Usually the nice weather means Matt and I trade some gym time for activities that let us enjoy the outdoors. We are lucky enough to have a hiking trail right near our house which is probably our favorite outdoor workout replacement to do together. Another one of my favorite ways to get active outside are with local studios that host outdoor classes and events. My barre studio has these at least every month or so when the weather is nice. I love it because you mix up the location so instead of working out in the studio you are outside on a restaurant patio or a brewery, something like that. It definitely breaks you from your routine and, not going to lie, it motivates me way more to get up on a Saturday for an early class. This morning, my mom and I went to a “Crunch & Brunch” event at a restaurant which was right on the water in the harbor. We got to do barre in the fresh air and it was SUCH a beautiful morning. Of course, when you are opting for an outdoor workout, you have to make sure you are prepared with some extra items. Of course if you need a yoga mat or resistance bands, you remember to bring those but, I’ve rounded up the items I always take with me for an outdoor class that may not be a part of your regular gym bag. 1. Sunglasses - These are a must for me! Some people hate working out with sunglasses on but if it is bright out I need them. I want to be focused on the workout I’m doing instead of squinting to see what the instructor is demonstrating. I have specific ones from MVMT that I like for outdoor activities. They are matte and non reflective so I don’t get any extra glares. They also are a little smaller than my usual pairs and sit on my face securely so they don’t fall off mid-downward dog.
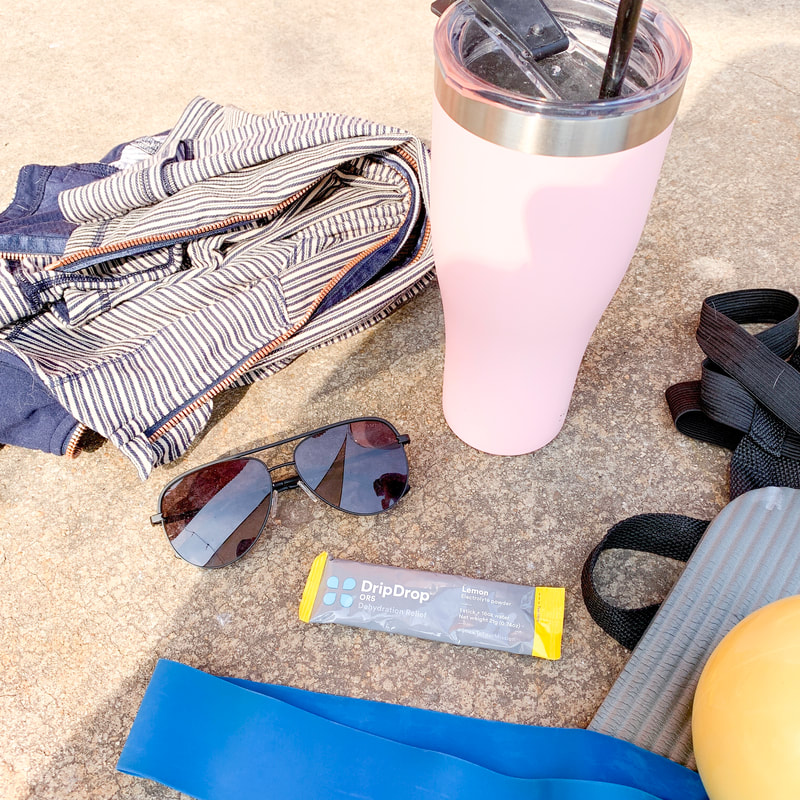
2. Hat - Number one, this will protect your scalp from the sun while you are outside. Two, it helps keep your hair out of your face. And three, if you choose to forgo the sunglasses, a hat should do the trick of keeping the sun out of your eyes. 3. Sunscreen - I think this one is pretty self explanatory but no matter what you are doing outside, lather on that SPF. My favorite are the Sun Bum sprays. They are so easy to put on and don’t stain your clothing at all. I have one that sits near my front door for us to spray on before we head out for an activity. It also smells SO good. I also like the face stick from Sun Bum because it’s easy to throw in your gym bag to touch up sensitive areas like your nose and cheeks, or other areas that get extra sweaty. 4. DripDrop - We’ve all been there. You’re in a workout class and you’re like I might throw up or pass out because I am sweating out my whole body weight. You’re dehydrated so you chug water and lay in child’s pose until you feel like you won’t puke all over your mat. I can’t be the only one? RIGHT?! Working out obviously puts your body at a higher risk for dehydration and when you mix that with a workout outside, under the sun, when its 80+ degrees… game over. I highly recommend packing DripDrop ORS packets to bring with you. Usually I drink one on my way to class/during and then if I need to I have another one afterwards. Especially if you are waking up early to go to a class or go on a hike, these are a game changer since your body is already in need of some morning hydration. I always pack some extras too incase there is that poor girl suffering in child’s pose who needs a dehydration savior to help her out. 5. Towel - Usually studios will provide towels so if you are offsite it is a given that if you want one, you’ll bring your own. Even if you don’t usually grab one while you’re in a studio workout, I highly recommend bringing one to an outdoor class. A lot of times these classes can be on cement or other hard surfaces. If you are on your wrists, knees, or forearms a lot this can get painful. It is nice to have a towel that you can roll or fold up for some extra cushion if you need it! If you are looking for outdoor workouts near you, check Facebook! If you don’t have a studio that you get regular updates from, Facebook events are a great place to see what exciting things local studios are doing near you. You can also find local workout groups, charity runs/walk, and events to bring your kids (or dogs) to, if you want to get active and more involved in the community. Let me know, what is your favorite kind of outdoor workout? xx |
Blonde babe.
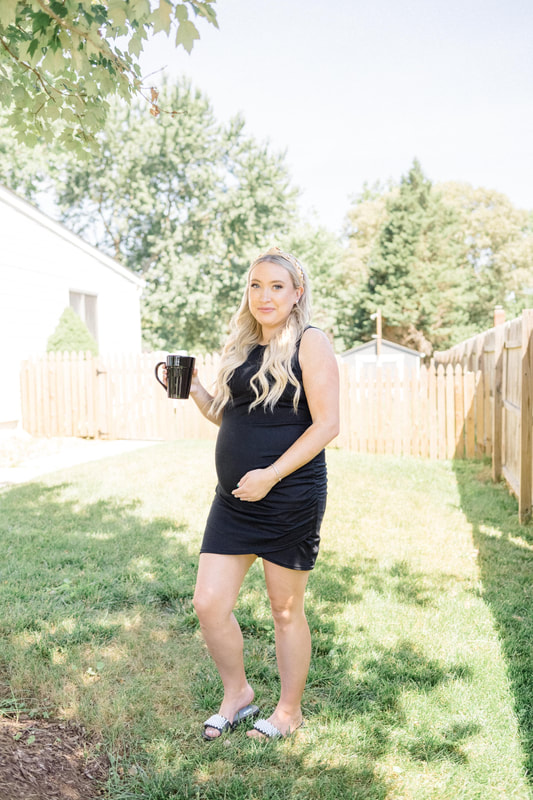
Millennial mom. Crohn's crusher. Mental health advocate. Sharing my raw and real journey through motherhood and navigating Crohn’s Disease. CrohnicallyBlonde is a place where I serve up my unfiltered commentary on chronic illness, mental health, pregnancy, and motherhood alongside lighter lifestyle content like beauty product reviews, travel tips, and book recommendations. My hope is that by authentically sharing my story I can help others going through similar situations not feel so alone and maybe even laugh along with me. categories
All
archives
November 2023
|
|
LET'S CONNECT ON SOCIAL
|
ContactFor press, partnerships, and general inquiries please contact: [email protected]
|



 RSS Feed